A Hardshell Chamber and Red Light, Arranged for a Private Wellness Room
A photo-led, anonymous installation story about a hardshell chamber, an installed red-light panel, and room-first planning.
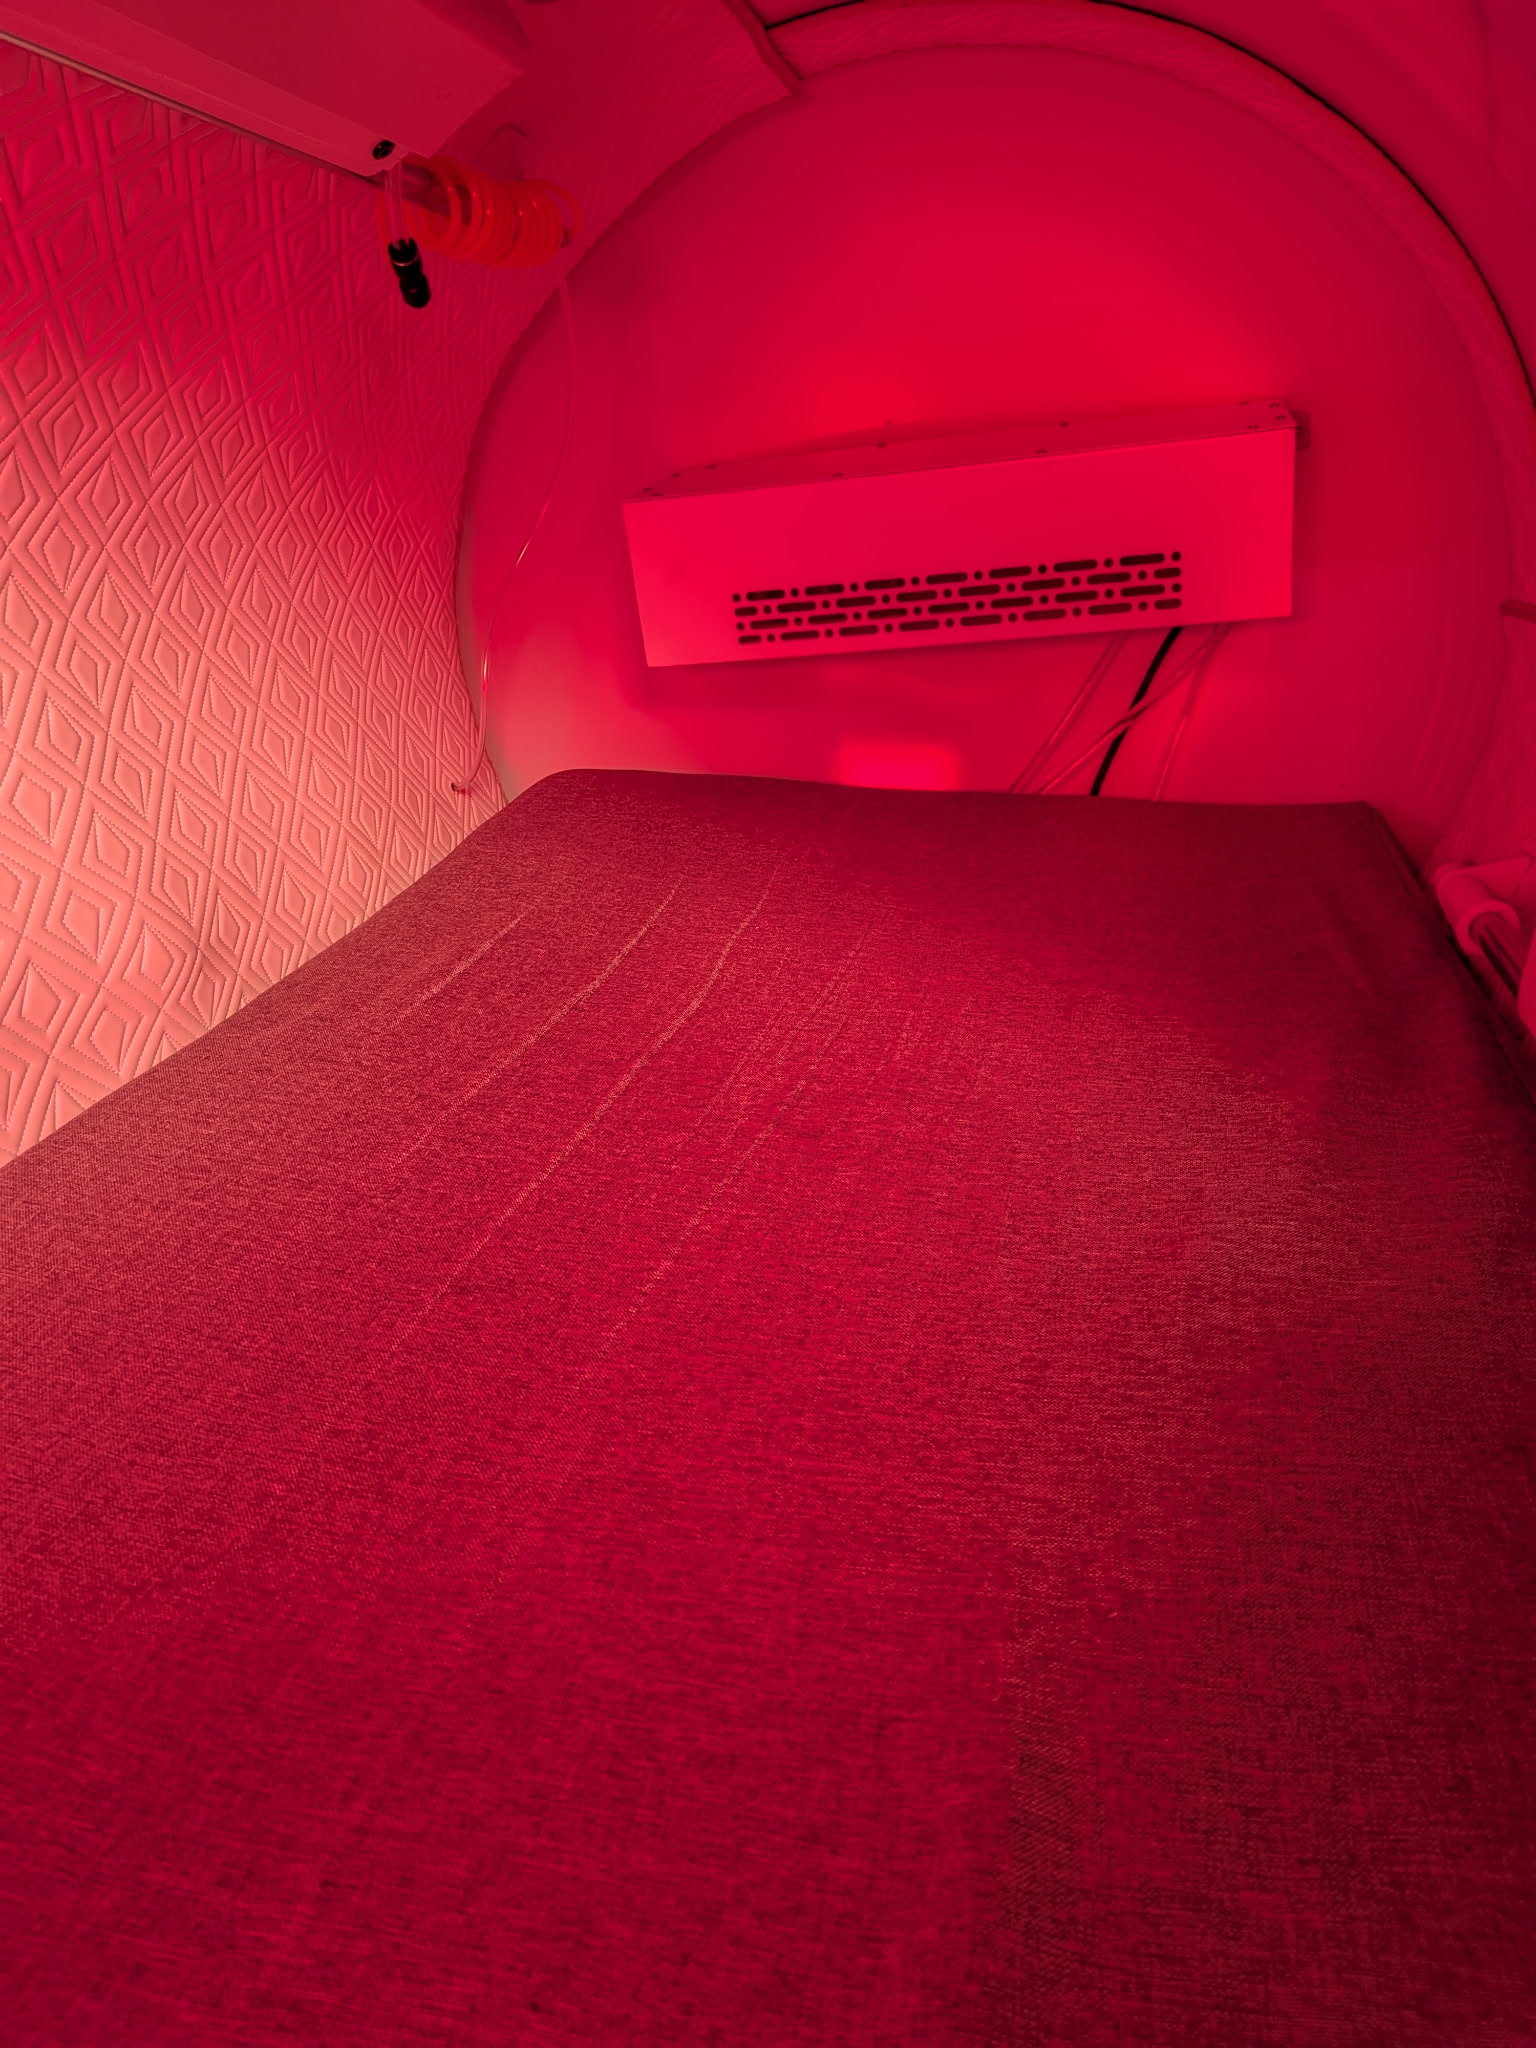
A finished chamber room is easiest to understand when the real pieces are allowed to speak for themselves. This private wellness-room installation shows a hardshell chamber, an installed red-light panel, and the way the equipment sits within the room. We are sharing the setup, not the customer's name, business, or exact location.
One real room, one real configuration
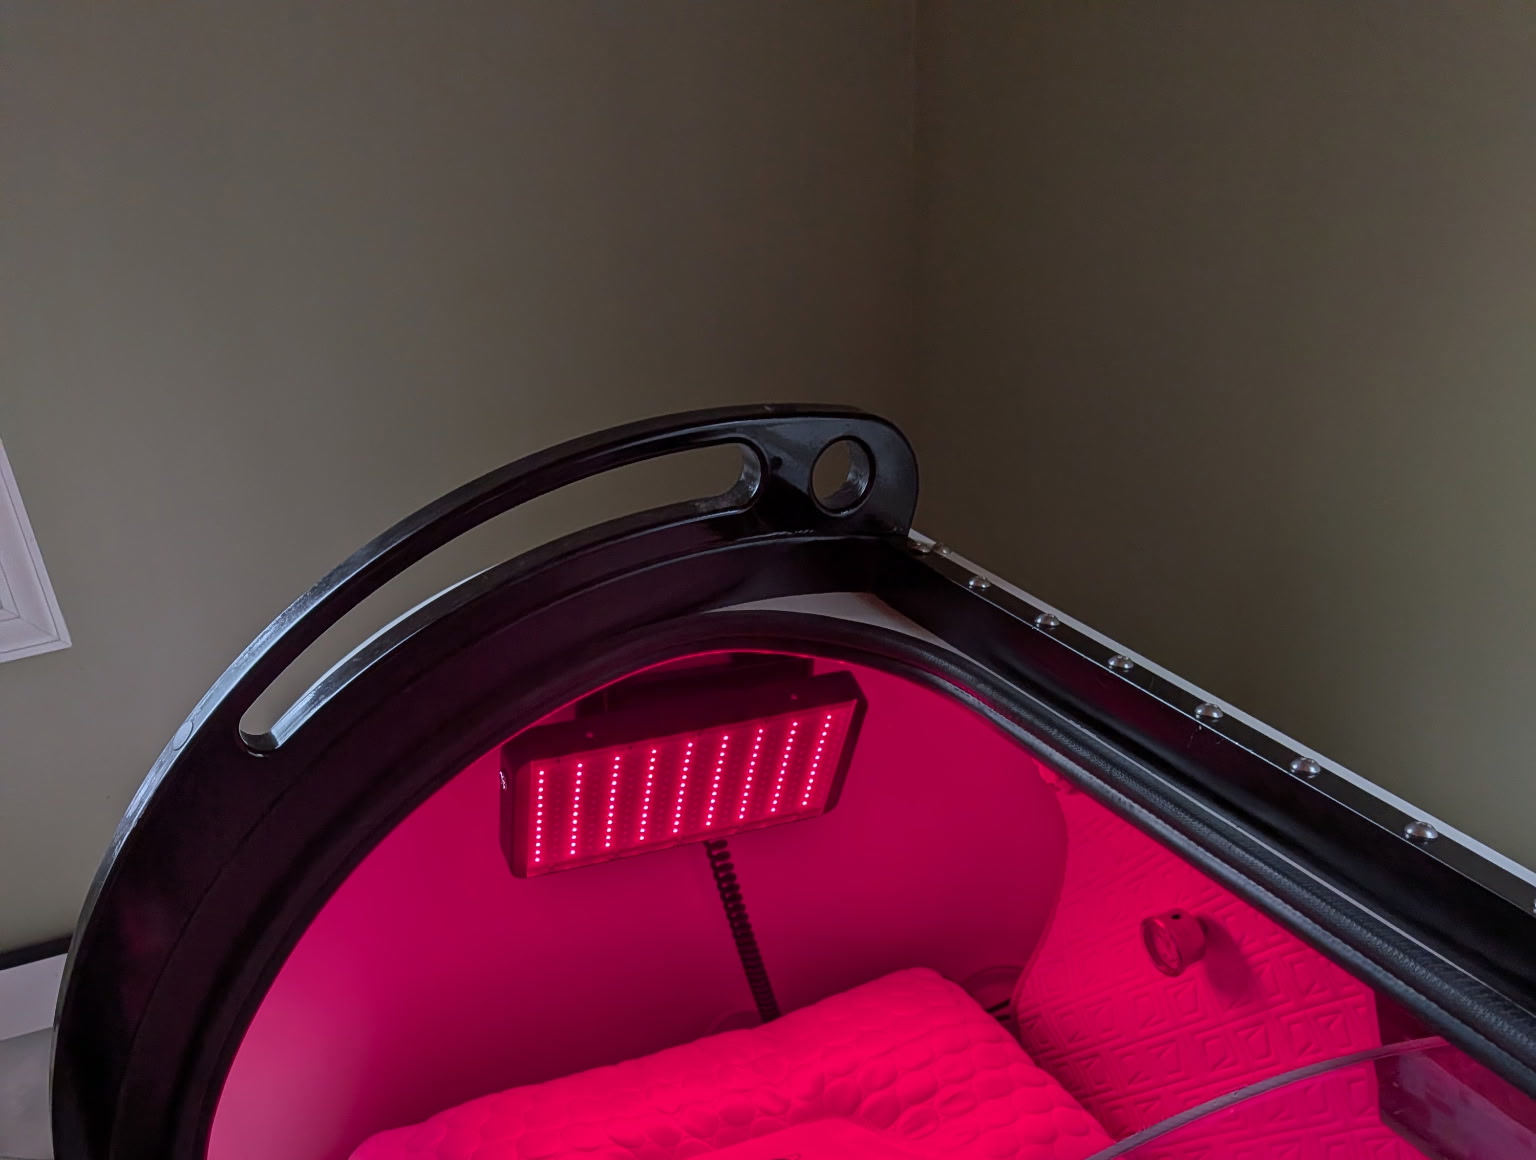
The photographs show a chamber interior with its padded surface and a red-light panel mounted overhead. A separate control interface is also part of the photographed equipment arrangement. Together, those details tell a useful story about how a chamber and its accessories become part of an existing space.
This is a dedicated story for one installation, not a stock-room concept or a generic roundup. The photos are the record: they show the finished arrangement, but they do not establish a model name, pressure rating, operating values, connection specifications, or the work sequence behind delivery day. We will not fill those gaps with guesses. Every chamber and room pairing deserves model-specific planning.
An eight-second silent documentary clip generated from screened, real installation photos.
Room-first planning makes the setup more useful
Before a chamber arrives, the practical conversation starts with the path it will take into the room. Measure the narrowest doorway and turns on the delivery route, confirm the planned footprint, and compare access space with the exact equipment instructions. Leave room for the entry, the controls, and the service points the manufacturer says need to remain reachable. A clear plan makes it easier to keep the finished room comfortable to move through and straightforward to maintain.
Power, supporting equipment, airflow, and clearances depend on the actual model and the room. Those are not details to copy from another customer’s photos. The right questions are specific: which unit is being installed, what the current instructions require, where the support equipment belongs, and who will confirm the setup before first use. A photo can help make that conversation concrete; it cannot replace a model-specific plan.
In this image set, the useful visual cues are the chamber opening, the interior surface, and the accessory's position above the bed. They help a future owner picture how equipment can sit together while keeping the room's identity private. The photographs do not document construction changes or a special challenge, so the story stays with what can actually be seen.
Make the control handoff part of the installation
A thoughtful installation includes time for the owner or operator to understand the actual unit in front of them. Review the manufacturer's instructions together, identify the controls and indicators for that model, and confirm the exact start-to-finish operating guidance with the qualified installer. Keep the model’s own manual close by. Readings captured in a photograph are only a moment in time, not a target, protocol, or instruction for another chamber.
Before the first session, the owner should know which support contact to use when a question comes up and where to find the equipment-specific guidance. That handoff matters as much as the final placement: it helps turn a room full of equipment into a setup the owner can approach with clarity.
A direct note about the red-light panel
The installed red-light panel is visible in the customer photos. Its appearance documents the arrangement; it is not a safety claim or an endorsement of use inside every chamber. Any chamber-installed electronics or powered accessory is used at the customer's own risk. Prestige never claims that electronics are 100% safe in an oxygen-enriched environment, and personal electronics—including phones, laptops, and watches—are never endorsed inside chambers. Read the Prestige electronics disclaimer and confirm the equipment-specific instructions before considering any accessory configuration.
Support that stays close after delivery
For anyone planning a similar room, start with the exact chamber model and a few clear photos of the delivery route and intended location. Our team can talk through the planning questions, operator orientation, and support path that apply to that equipment—without pretending every room or configuration is the same.
Prestige's engineers design our own improvements, keep commonly needed parts close, and focus on reliability, safety, and function. Buy from Prestige, get supported by Prestige forever. For a Prestige-built chamber, that support comes from the same team that built your system and installed it. That follow-through is part of what makes a customer installation feel complete.